This is the following post of Create own module project - Android, and shows the way to keep your module stable continuously.
Make tests
Test is important to make your project reliable. As your project going bigger, there will be lots of bugs, and it is tough to keep your codes stable while fixing and modifing it.
It is pretty easy to setup your test for Android. Actually, it builds up when you create it as ExampleInstrumentedTest and ExampleUnitTest. Instrument test is for testing UI process flow, and it is being tested on virtual/real devices. Unit test is for testing internal data logic of classes or modules and it is running on JVM, so you cannot access Android APIs like Context or else.
This is to just look on process of test, so I’ll make a simple unit test.
Check gradle file and see module for test has been included(usually it has by default). {% highlight shell %} {% raw %} dependencies { … testCompile ‘junit:junit:4.12’ } {% endraw %} {% endhighlight %}
Now write test code. [ExampleUnitTest.java] {% highlight java %} {% raw %} public class ExampleUnitTest {
private static final String TARGET_TEST_STRING = "My name is John. Last name is Doe. Doe family is living here.";
private Reducer reducer;

@Before
public void setupParam() {
    reducer = Reducer.getInstance();
}

@Test
public void testSpaceDelimeter() throws Exception {
    String delimeter_space = " ";
    ArrayList<WordPair> parsedText = reducer.textToPair(TARGET_TEST_STRING, delimeter_space);
    assertEquals(parsedText.size(), 9);
    assertEquals(parsedText.get(1).word, "name");
    assertEquals(parsedText.get(1).number, 2);
}

@Test
public void moreTest() throws Exception {
    // more test...
}
} {% endraw %} {% endhighlight %}
This is to test textToPair logic what we just tried now.
In test code, there are several decorator being used to define test process. @Before is the function which will be running before starting test, and functions with @Test decorator will be running in actual test. If you need something to do after test, use @After. It once has been defined with fixed function name(runnning function with name setUp before test, and test functions which starts with name test), but it has been changed from AndroidJUnit4.
assertEquals is to compare results with expected value. It compares 2 parameter and return exception when it is not equal value. Code in testSpaceDelimeter checks whether size of list parsedText are 9, second value of list is “name”, and number of second value is 2. Because it is all correct as we see in Activity code, test passes here. You can run test simply in Android Studio with Run button.

Open, and manage your project
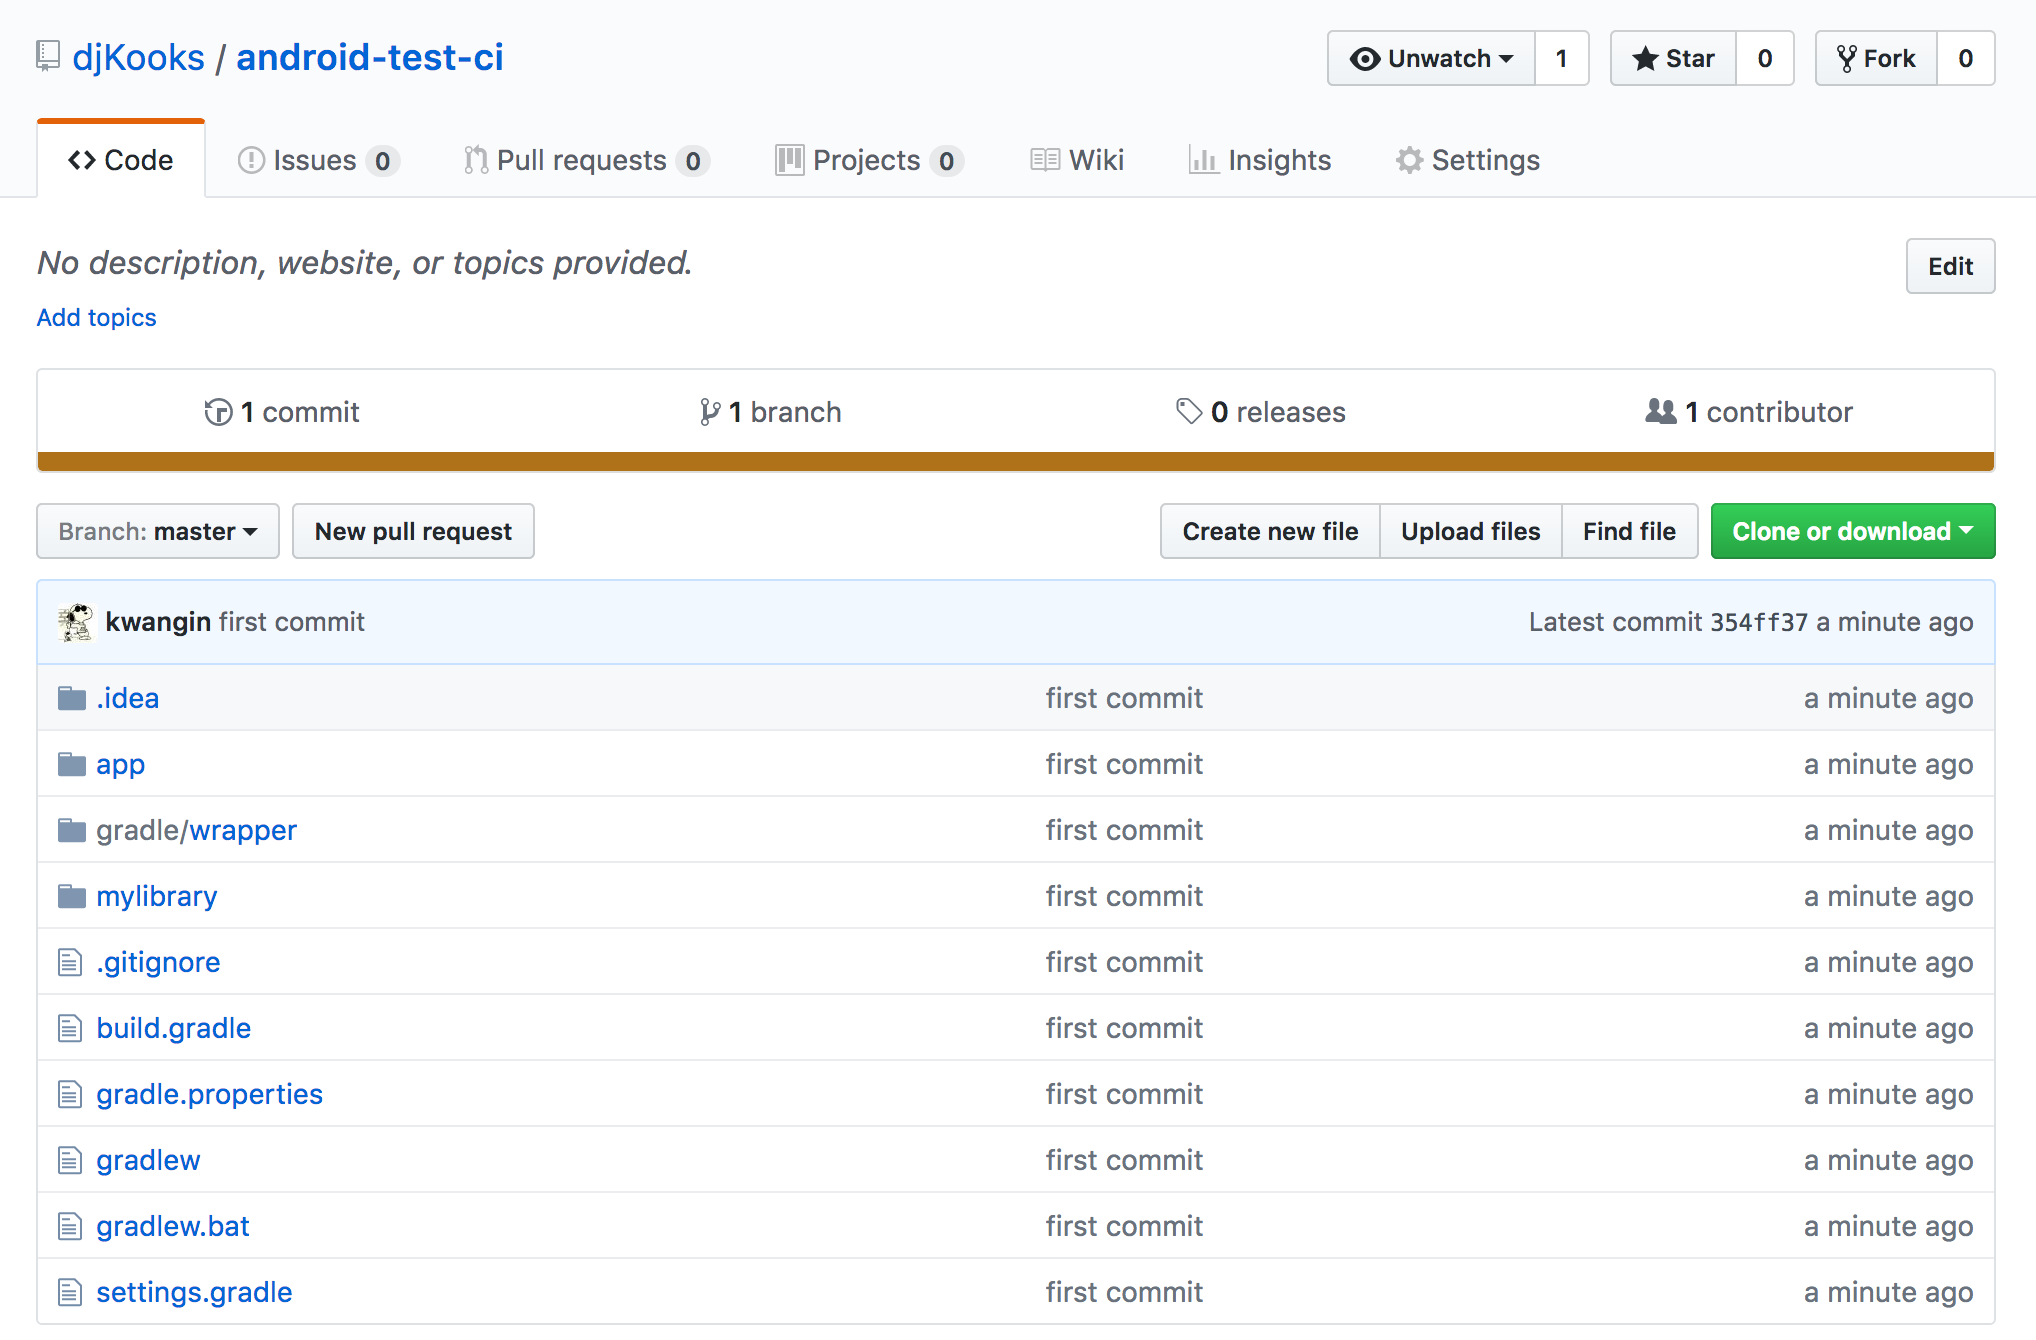
Before going on, I’ll update this project to Github.

Now project is opened, and ready to go further.
We have module for word counting and test logic to check it is working correctly. You could improve current logic, fix bugs, or create new one. Maybe other committer who are interested in this project could do it.
But during project being grown up, some of commits could break module’s logic and make test fail. So it needs a logic to check status continuously, and Travis could help it.
Continuous integration with Travis CI

Travis CI is a continuous integration platform used to build and test software projects hosted in GitHub. Unless you are planning to make your repository private, you can use it for free.
For activate travis, you need to add .travis.yml script in root directory of project. It will include projects build definitions.
{% highlight yaml %}
{% raw %}
language: android
jdk: oraclejdk8
android: components: - platform-tools - tools - build-tools-25.0.0 - android-25 - extra-android-m2repository - extra-google-m2repository - extra-android-support
licenses: - ‘android-sdk-preview-license-.+’ - ‘android-sdk-license-.+’ - ‘google-gdk-license-.+’
script: - ./gradlew test {% endraw %} {% endhighlight %}
This is the setting I used.
It needs to define language and it is set as Android(though it is not a language, but it needs different logic with common Java). Below android, it defines components which needs for project build, and a license for android components. Version of ‘build-tools’ and ‘android’ below ‘components’ has to be same with the value defined in gradle script.
One thing you should know is, you need to define Java as ‘oraclejdk8’ to make it work. ‘oraclejdk7’ does not work anymore in travis, and Android does not support ‘openjdk’. You could find detail about this here.
And finally put in script to define command needs to be run on deployment.
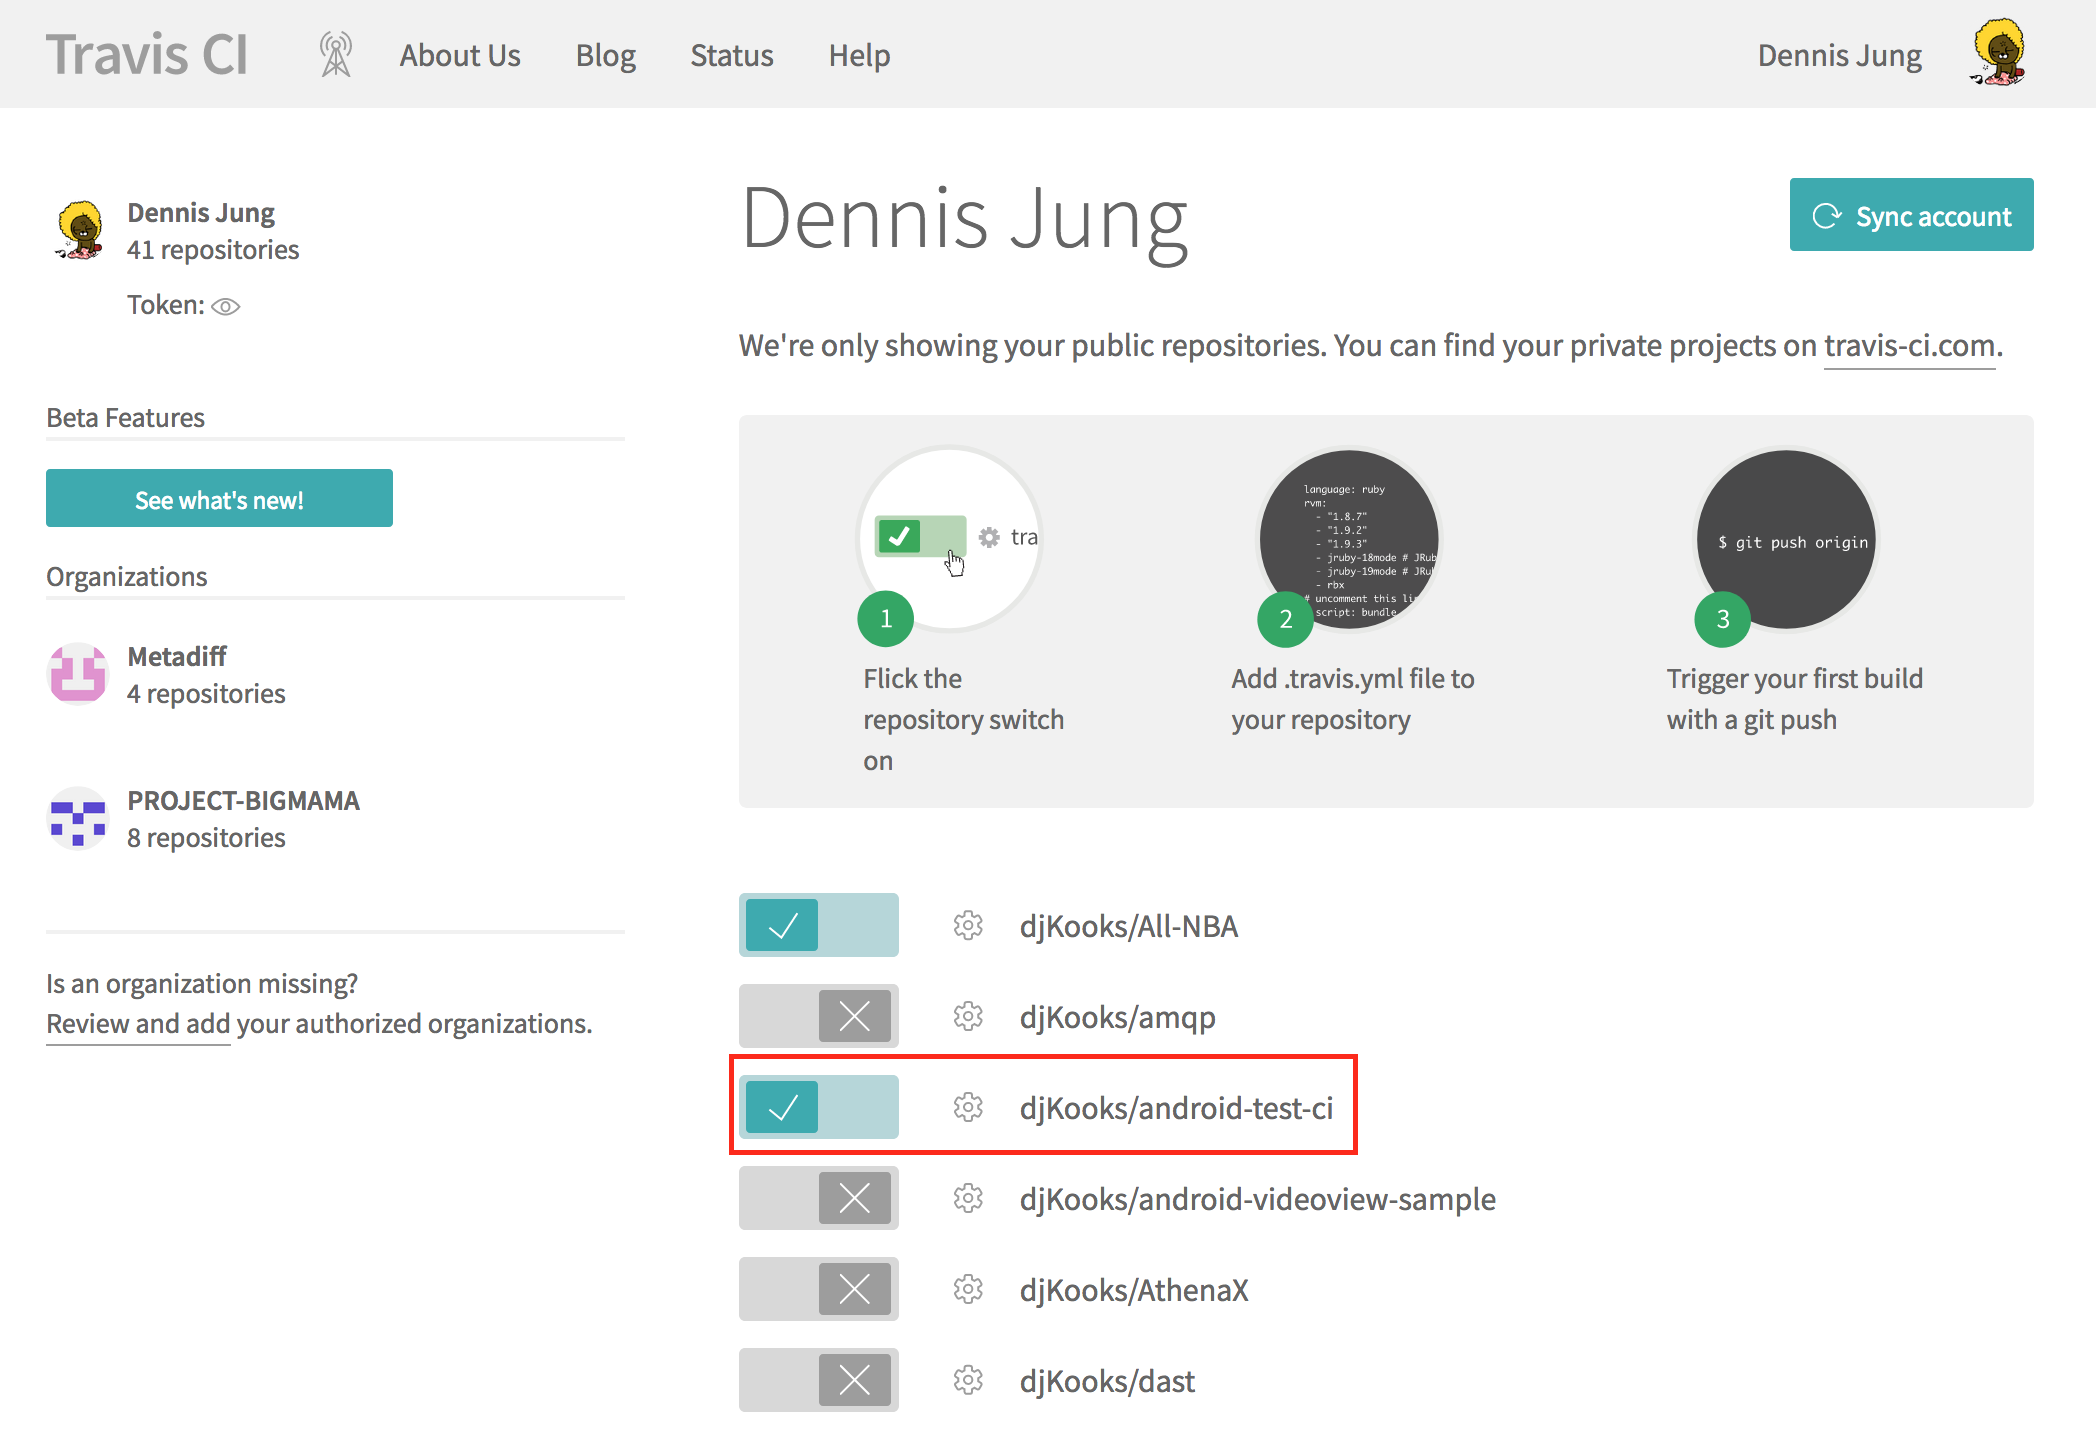
If you added this file, find your repo in travis-ci and make it enable to run the script you made.

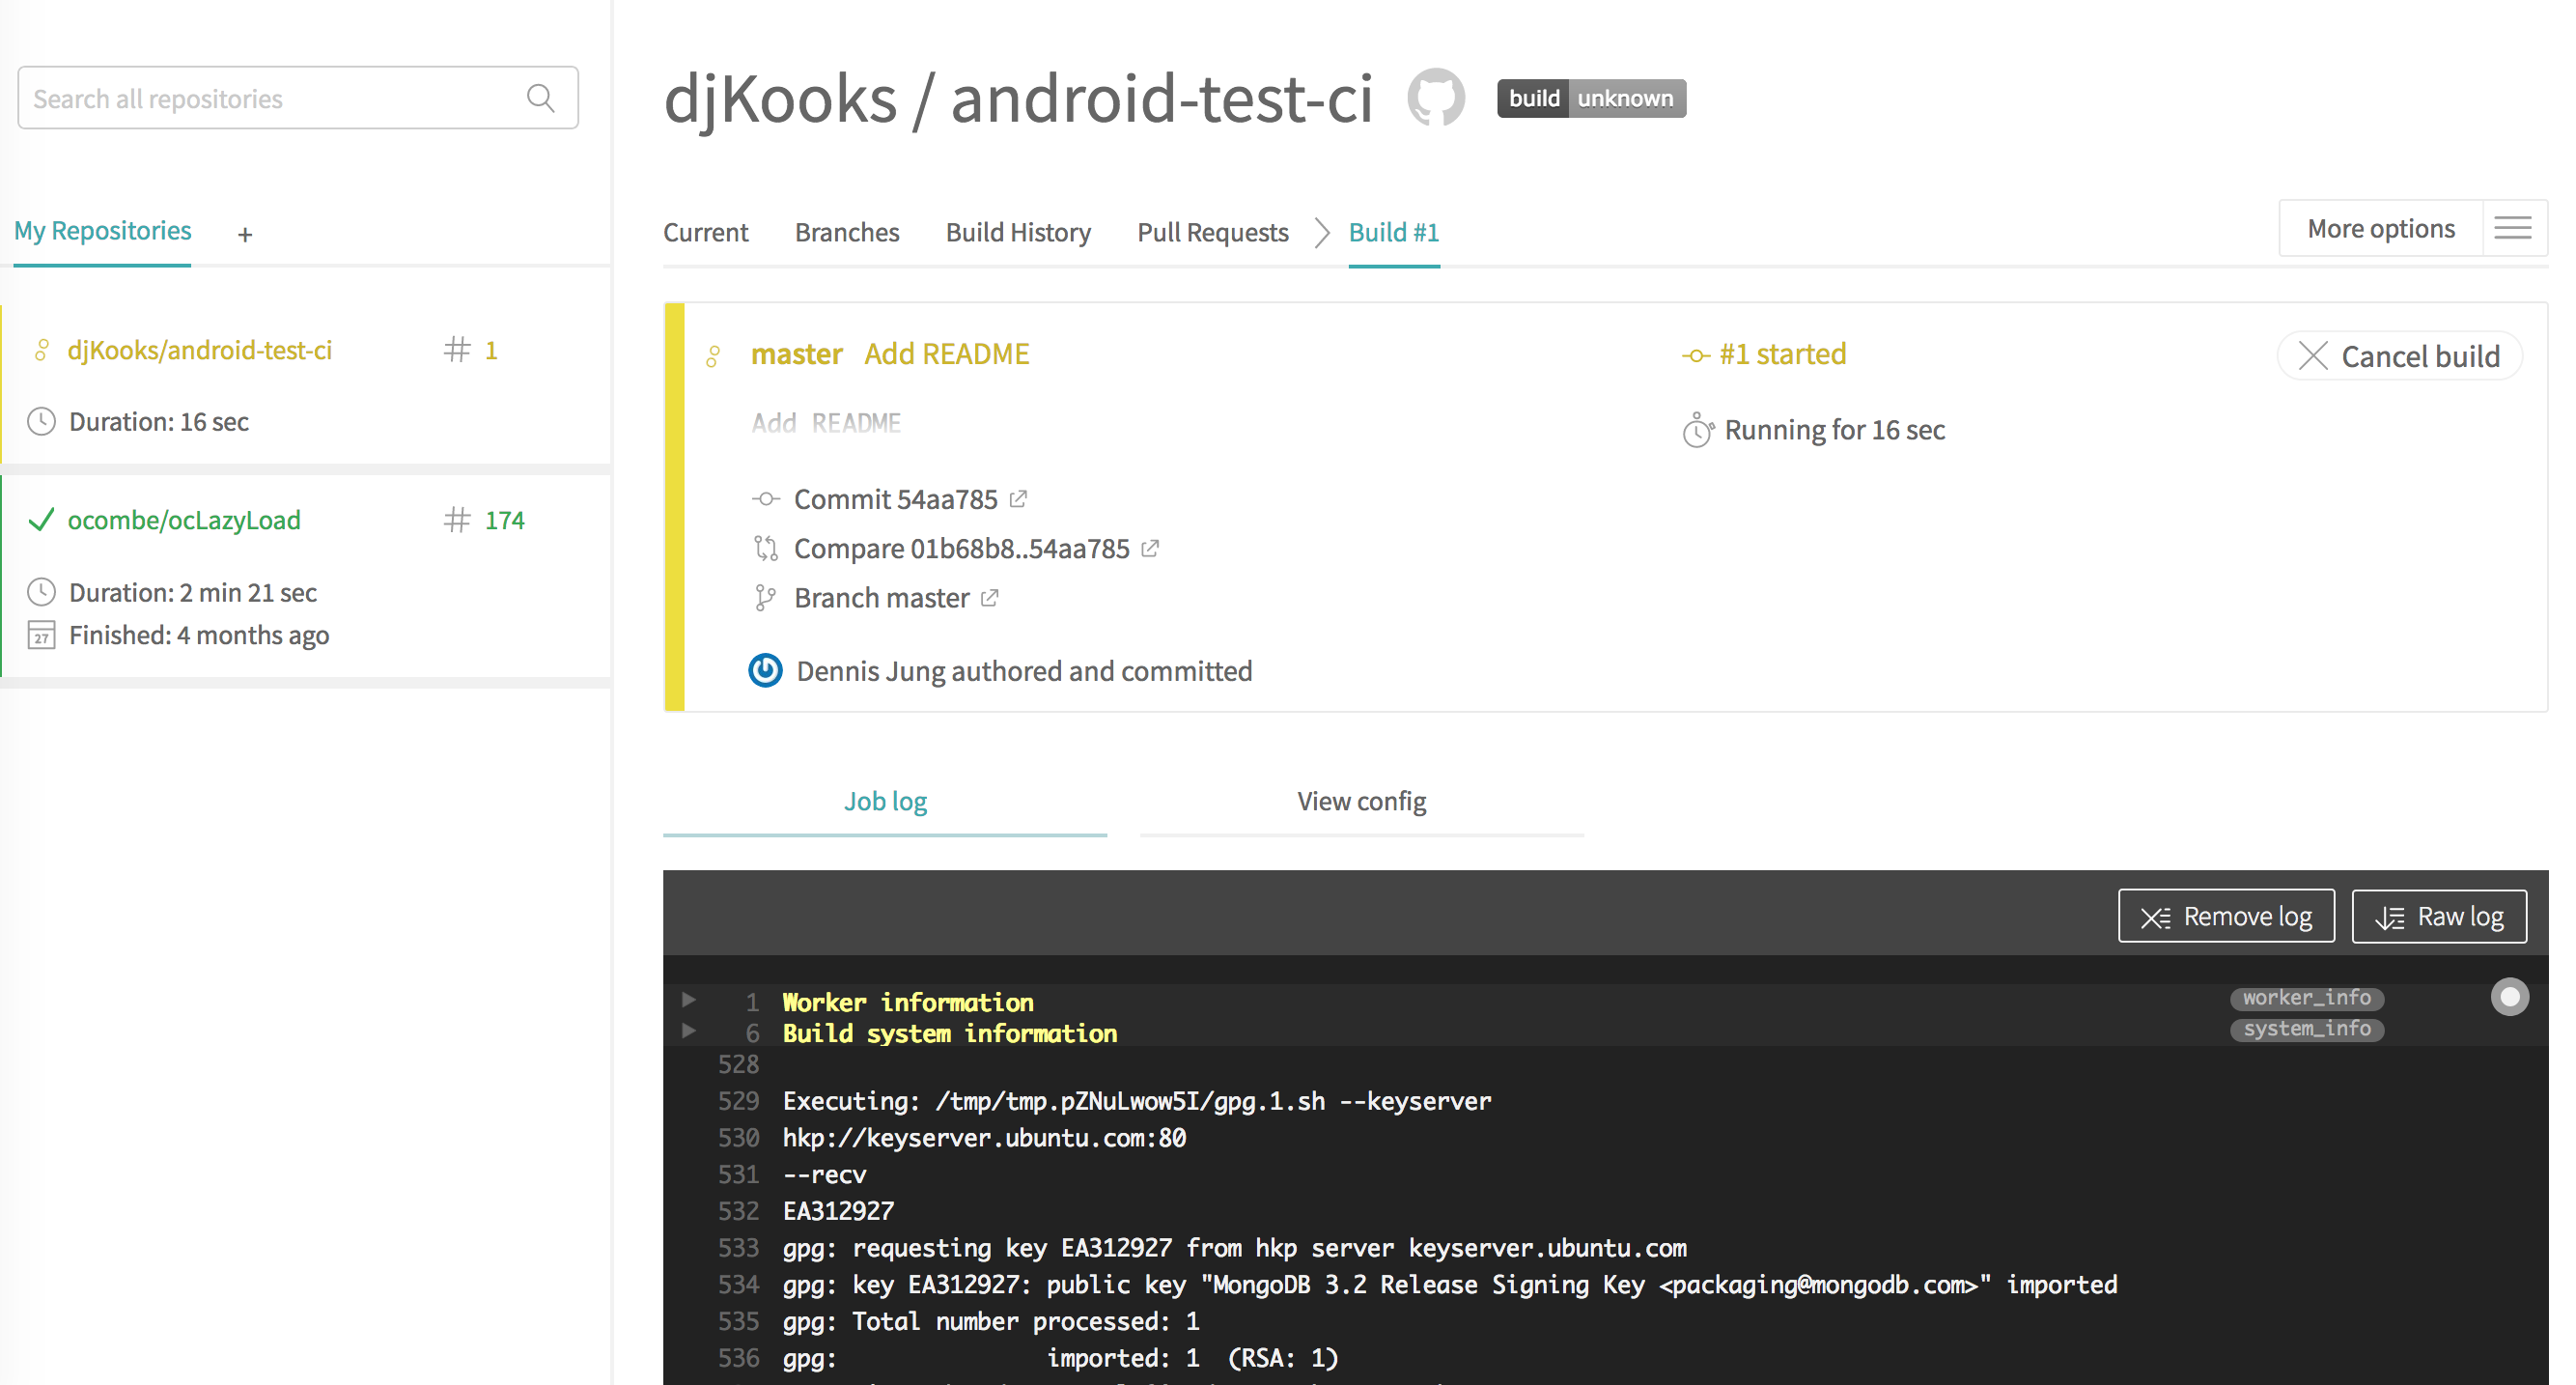
This makes your build script triggered with push event to this repository. I pushed simple README file, and travis will recognize it like this.

Now you are prepare to develop/manage your project.