I’ve had a change to join on hackathon event few weeks ago, and participate as developing backend with infra setup. In my mind hackathon event has more meaning on testing experimental things instead of making stable result, so I’ve decided to try on ‘Cloud Run’.
Cloud Run on Google Cloud Platform(GCP)
Year ago, google has launched new solution Cloud Run, for running serverless application from docker image. It is fully managed compute platform for deploying and scaling containerized applications quickly and securely. It makes user can manage and deploy website without any of the infrastructure overhead you experience with VM or pure kubernetes based deployments.
Frankly, I’ve worked on developing front-end side to back-end side, but didn’t involved deeply at infrastructure. Just touching the tool or scripts which platform members prepared…so it seems good selection to me.
Procedure here is not talking about the optimized way. It just helps you how to come up to the scratch of using this, and let you know it is pretty easy to start on if you know about understanding of docker.
Before going on…
- you need to install gcloud
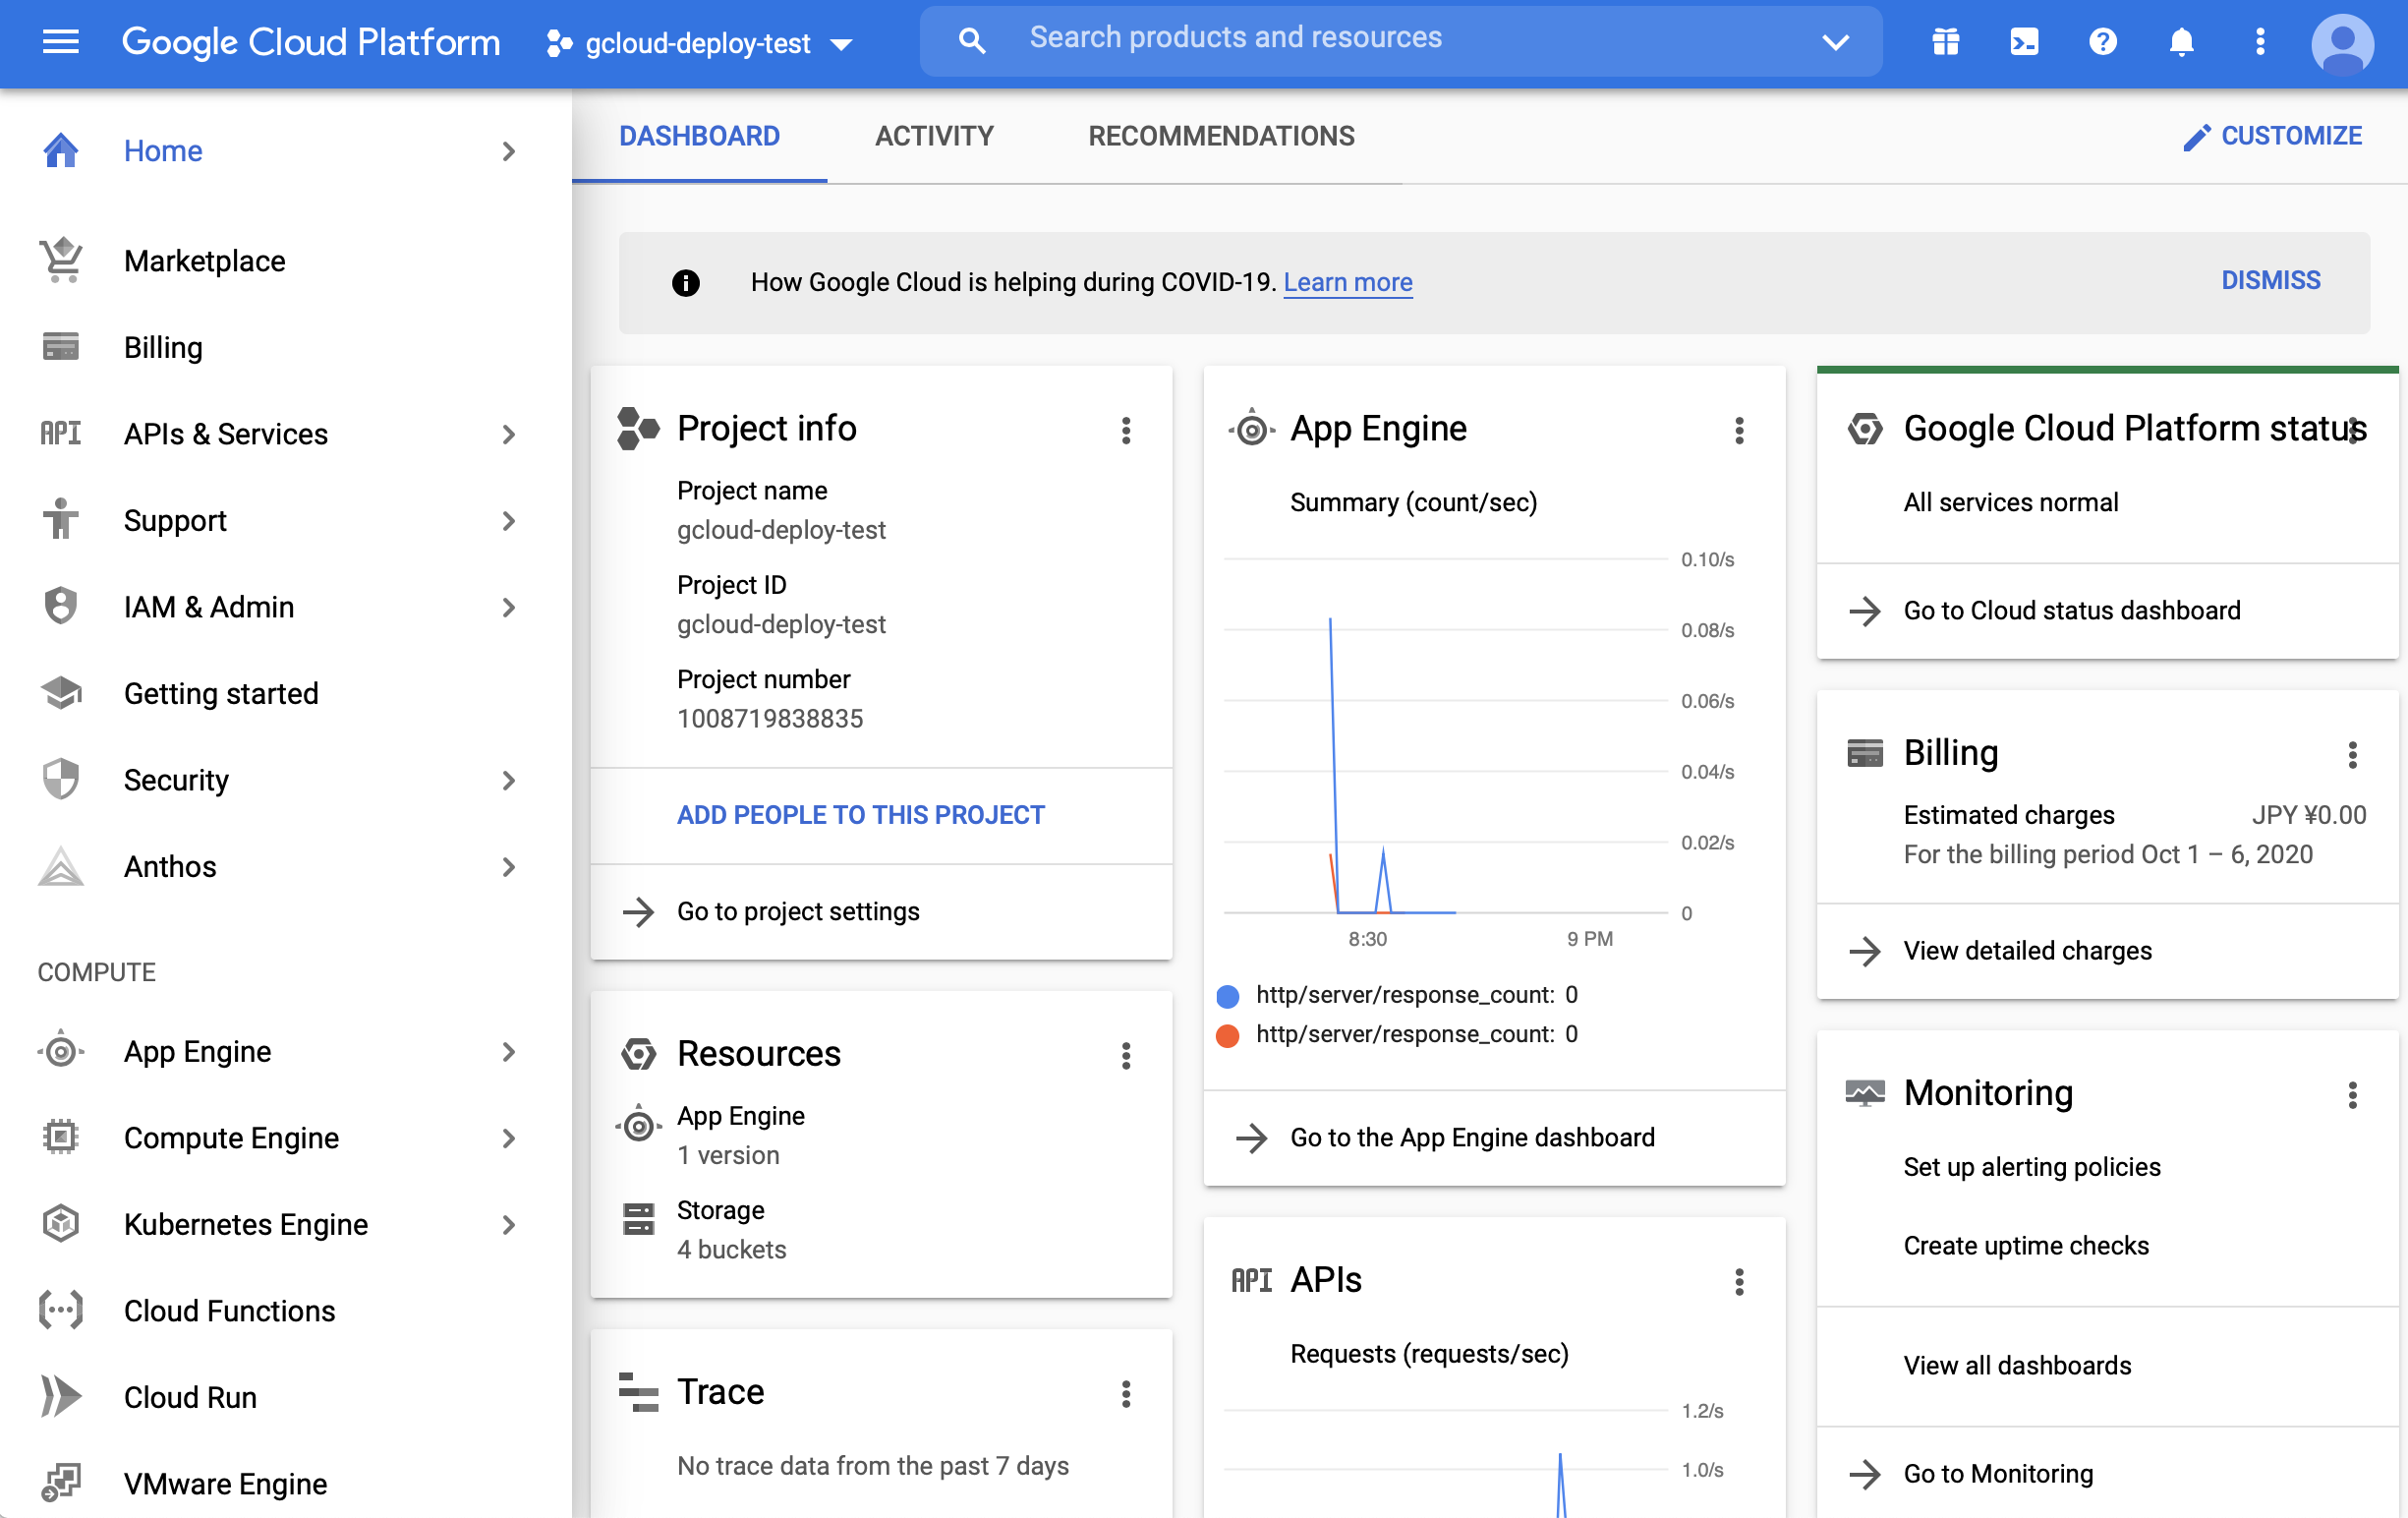
- create project in GCP
Dockerize scaffolds for develop environment
In my hackathon team, there was great members who can make front-end UI based on React, and machine learning logic for recommendation system. So I could focus on design basic directory structure and simple API logic. Because recommendation logic was based on Python, I’ve choose Django for framework.
First thing I’ve done is to make docker environment, for quick development + deployment. Because Cloud Run is running based on k8s, application should be deployed as docker container.
I’ve started with scaffolding client/server part with common scripts(create-react-app ..., django-admin startproject ...), and add Dockerfile for each one:
[client/Dockerfile]
FROM node

RUN mkdir -p /app/frontend
WORKDIR /app/frontend
COPY package.json package-lock.json /app/frontend/

RUN npm install

COPY . /app/frontend/

EXPOSE 3000
CMD ["npm", "start"]
[server/Dockerfile]
FROM python:3.7

RUN apt-get update \
  && apt-get install -y --no-install-recommends \
  && rm -rf /var/lib/apt/lists/*

WORKDIR /app/server
COPY requirements.txt /app/server
RUN pip install -r requirements.txt

EXPOSE 8000
CMD ["python", "manage.py", "runserver", "0.0.0.0:8000"]
[docker-compose.yml]
version: "3"

services:
  server:
    build: ./server
    command: ["python", "manage.py", "runserver", "0.0.0.0:8000"]
    stdin_open: true
    volumes:
      - ./server:/app/server
    ports:
      - "8000:8000"
  frontend:
    build: ./frontend
    command: ["npm", "start"]
    volumes:
      - ./frontend:/app/frontend
      - node-modules:/app/frontend/node_modules
    ports:
      - "3000:3000"
    stdin_open: true
    depends_on:
      - server

volumes:
  node-modules:
Now with docker-compose, it will make common develop container by docker. I like making docker setup, because it makes all team developers work on same base environment, and don’t need to make detail guide.
Configuration inside application
Because we will run projects inside one container, you should change proxy address on client, to target correct server address. If you generate client project with create-react-app, you can fix on client/src/setupProxy.js
|
|
and setup some configuration for server in settings.py
|
|
Now it’s done for local development.
Pre-config to build image
I’ll make one more Dockerfile in root, to generate application docker image which will be uploaded to Cloud Run.
[Dockerfile]
FROM python:3.7

RUN apt-get update \
  && apt-get install -y --no-install-recommends \
  && rm -rf /var/lib/apt/lists/*

WORKDIR /app/server

COPY ./server/requirements.txt /app/server/
RUN pip install -r requirements.txt

COPY . /app/
WORKDIR /app

EXPOSE $PORT

CMD python3 server/manage.py runserver 0.0.0.0:$PORT
Okay, after you’ve finished development, build projects to prepare image build. Of course, this can be different by your settings.
|
|
Run image on Cloud Run
Now you should have built image file in local. You should have gcloud here, as commented above. Let’s build and upload image from local project, to your GCP project.
Run this command where Dockerfile exists, to build image. Do it with gcloud as:
$ gcloud builds submit --tag gcr.io/${project-ID}/${image-name}:${image-version}
gcloud builds submit --tag gcr.io/${project-ID}/${image-name}:${image-version} .               ✹ ✭
Creating temporary tarball archive of 36186 file(s) totalling 336.8 MiB before compression.
Some files were not included in the source upload.

Check the gcloud log [/Users/yourname/.config/gcloud/logs/2020.07.01/20.52.43.963015.log] to see which files and the contents of the
default gcloudignore file used (see `$ gcloud topic gcloudignore` to learn
more).
...
...
or, you can just use docker command:
$ docker build -t gcr.io/${project-ID}/${image-name}:${image-version} .
...
$ docker push gcr.io/${project-ID}/${image-name}:${image-version}
Now press Cloud Run on option inside dashboard:
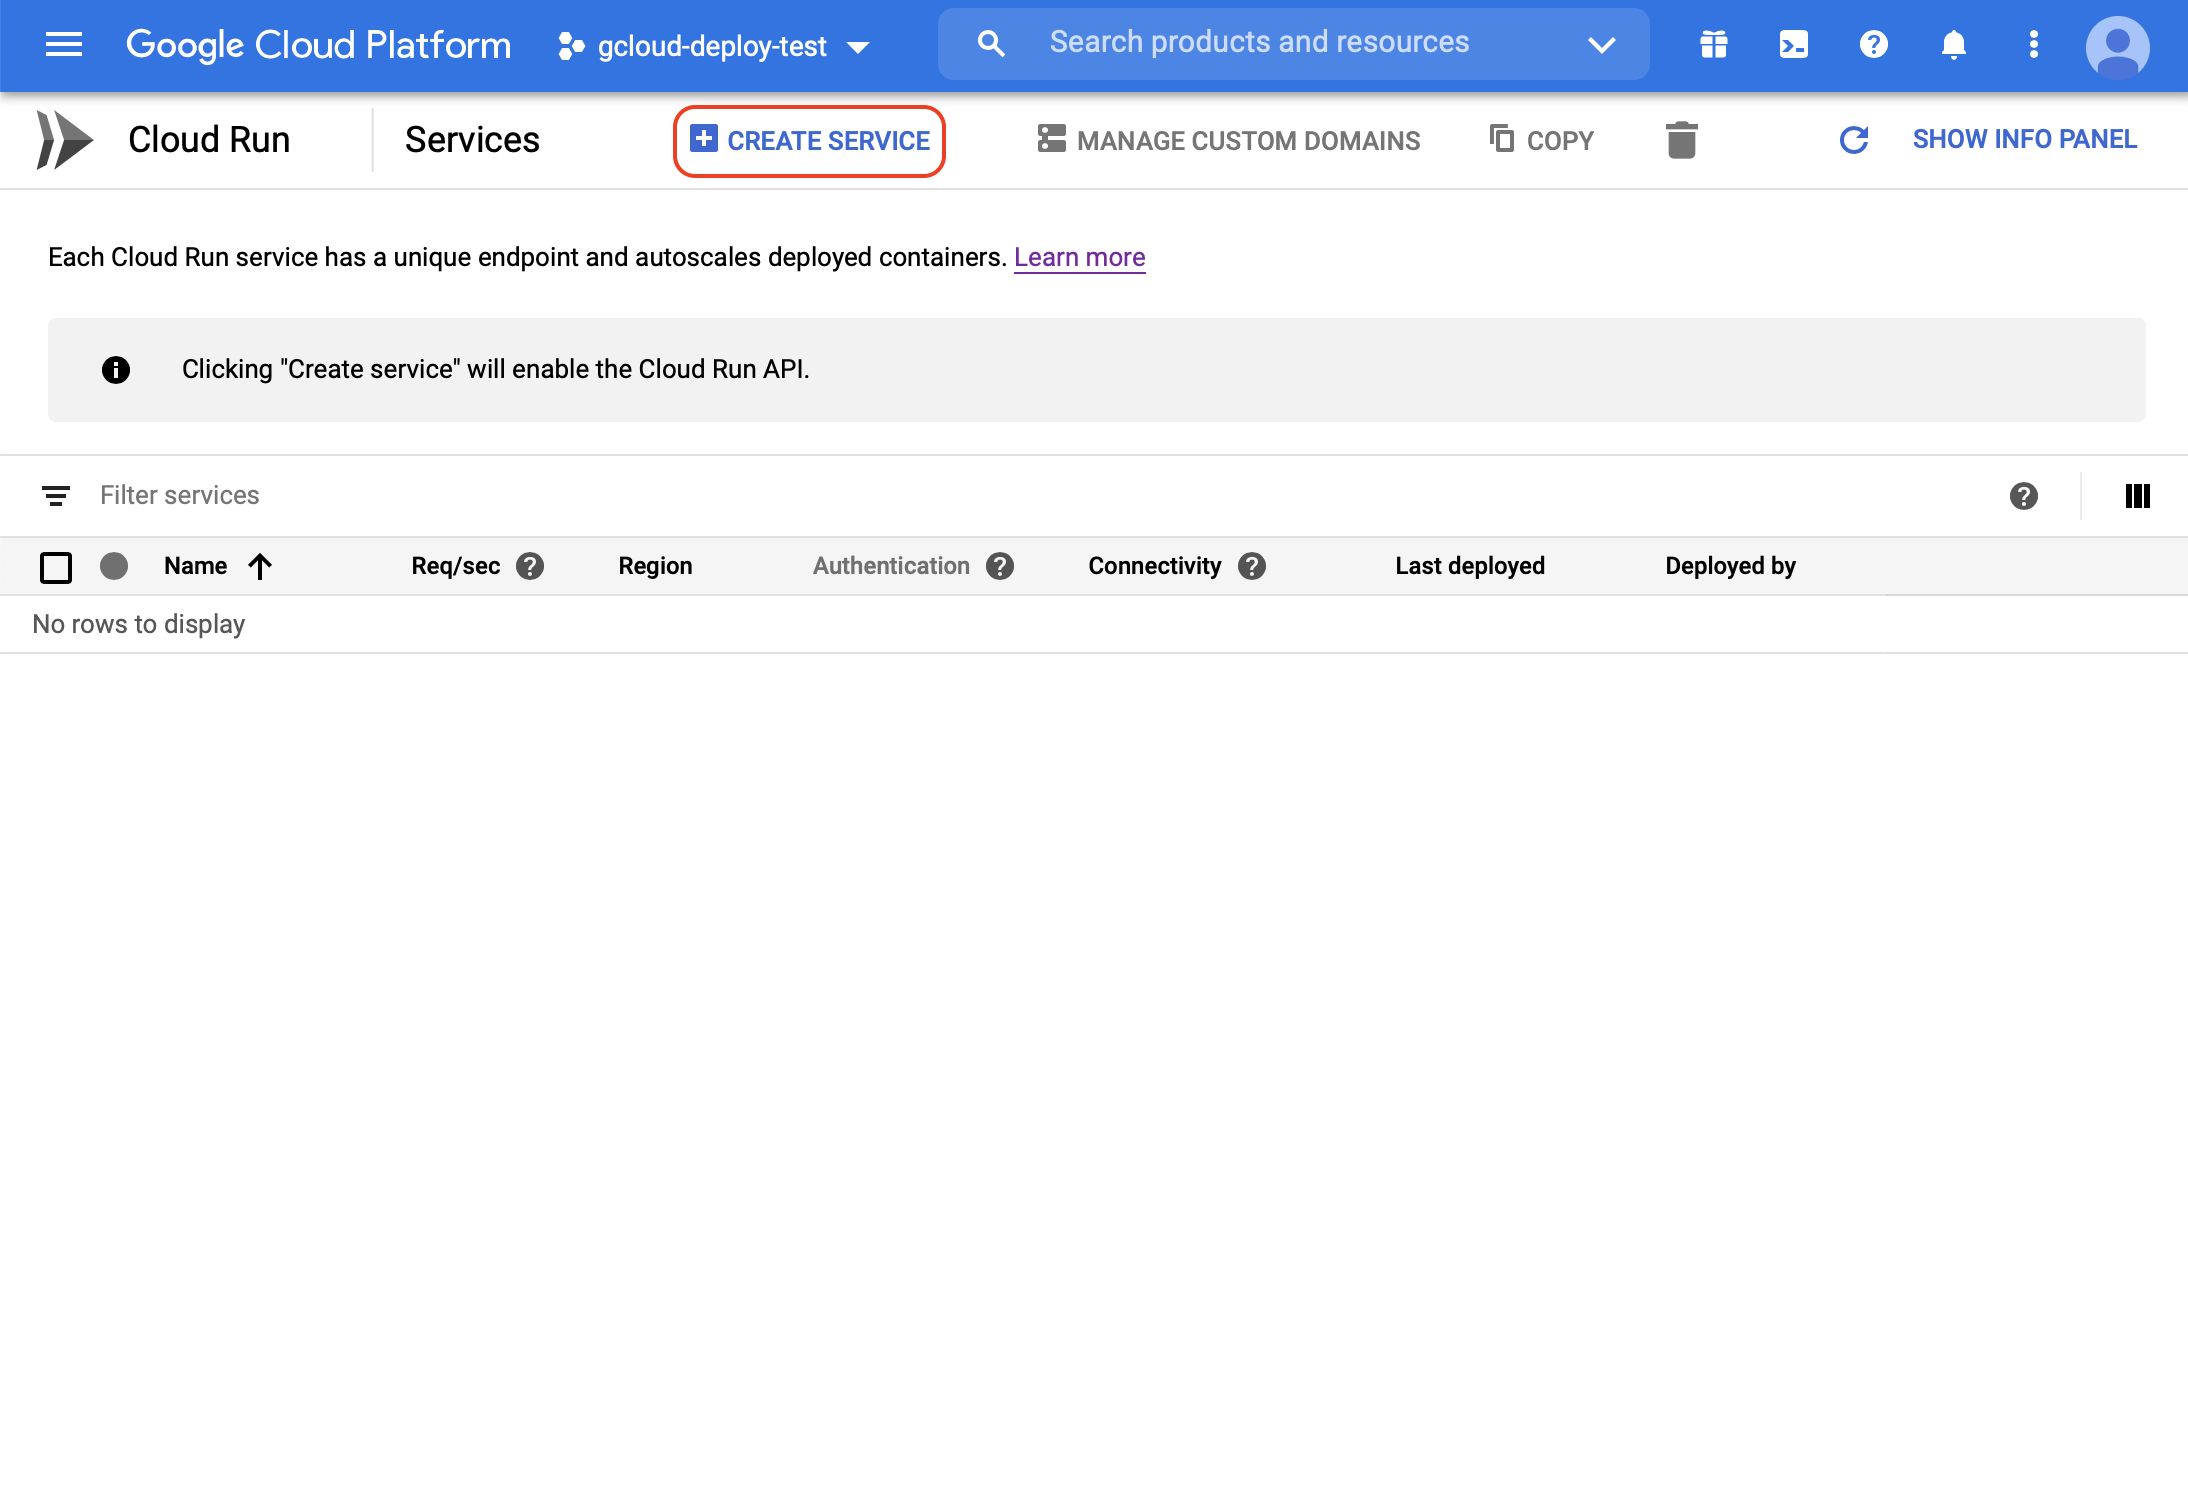 Create new service here
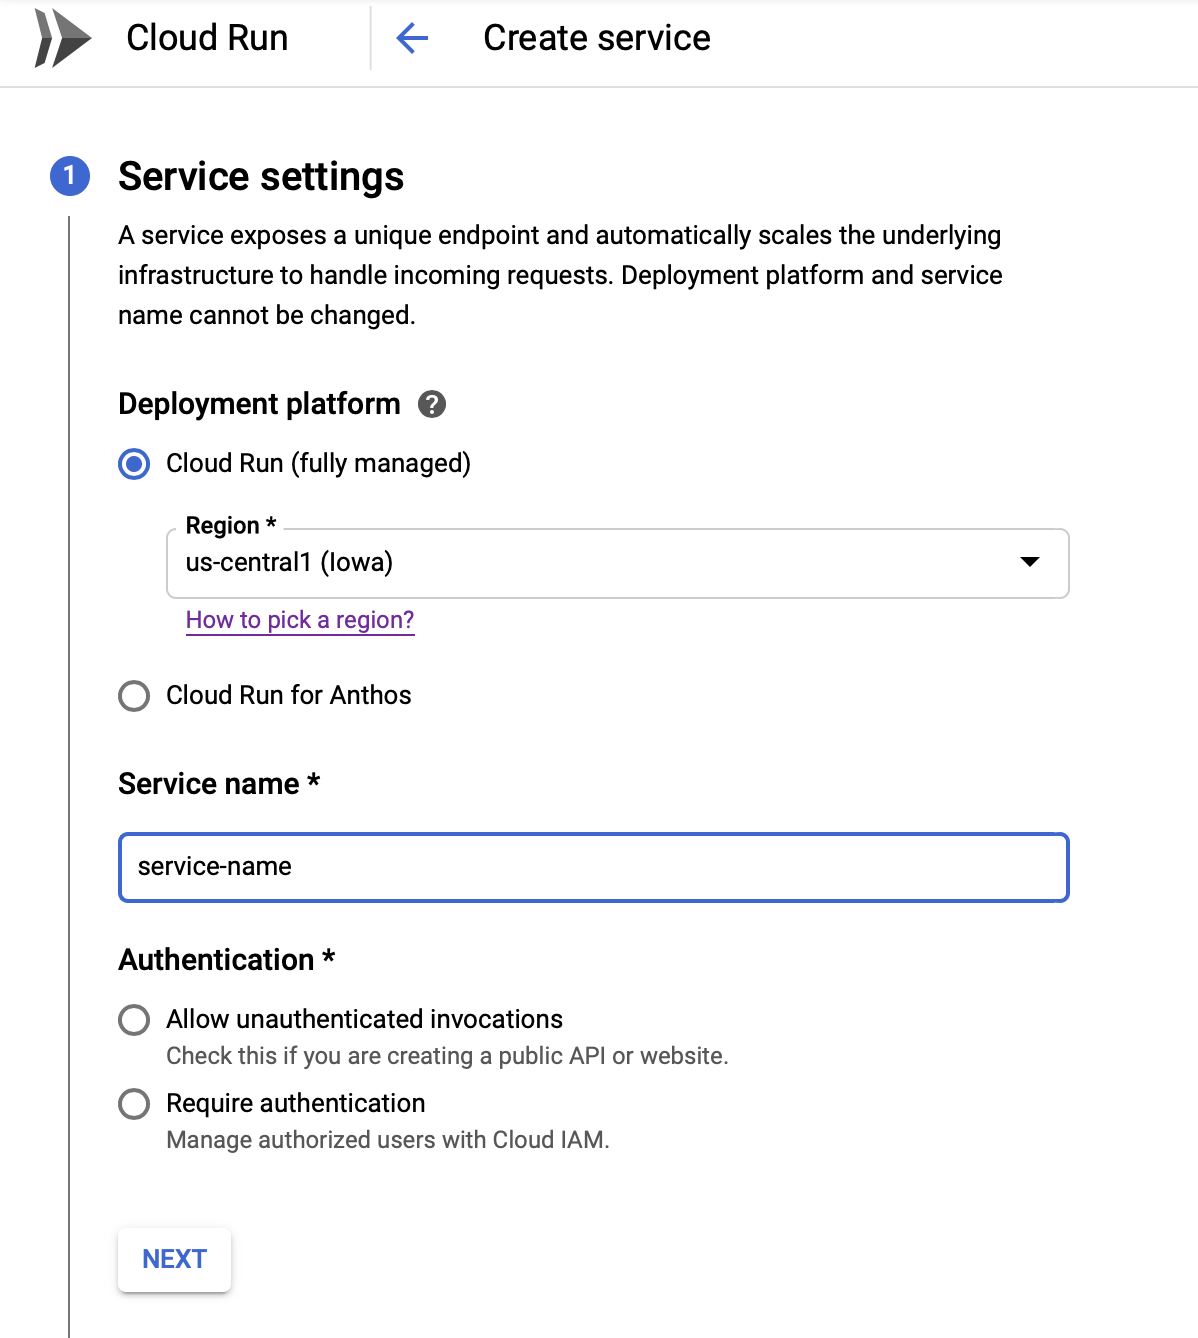 Make service setting for container.
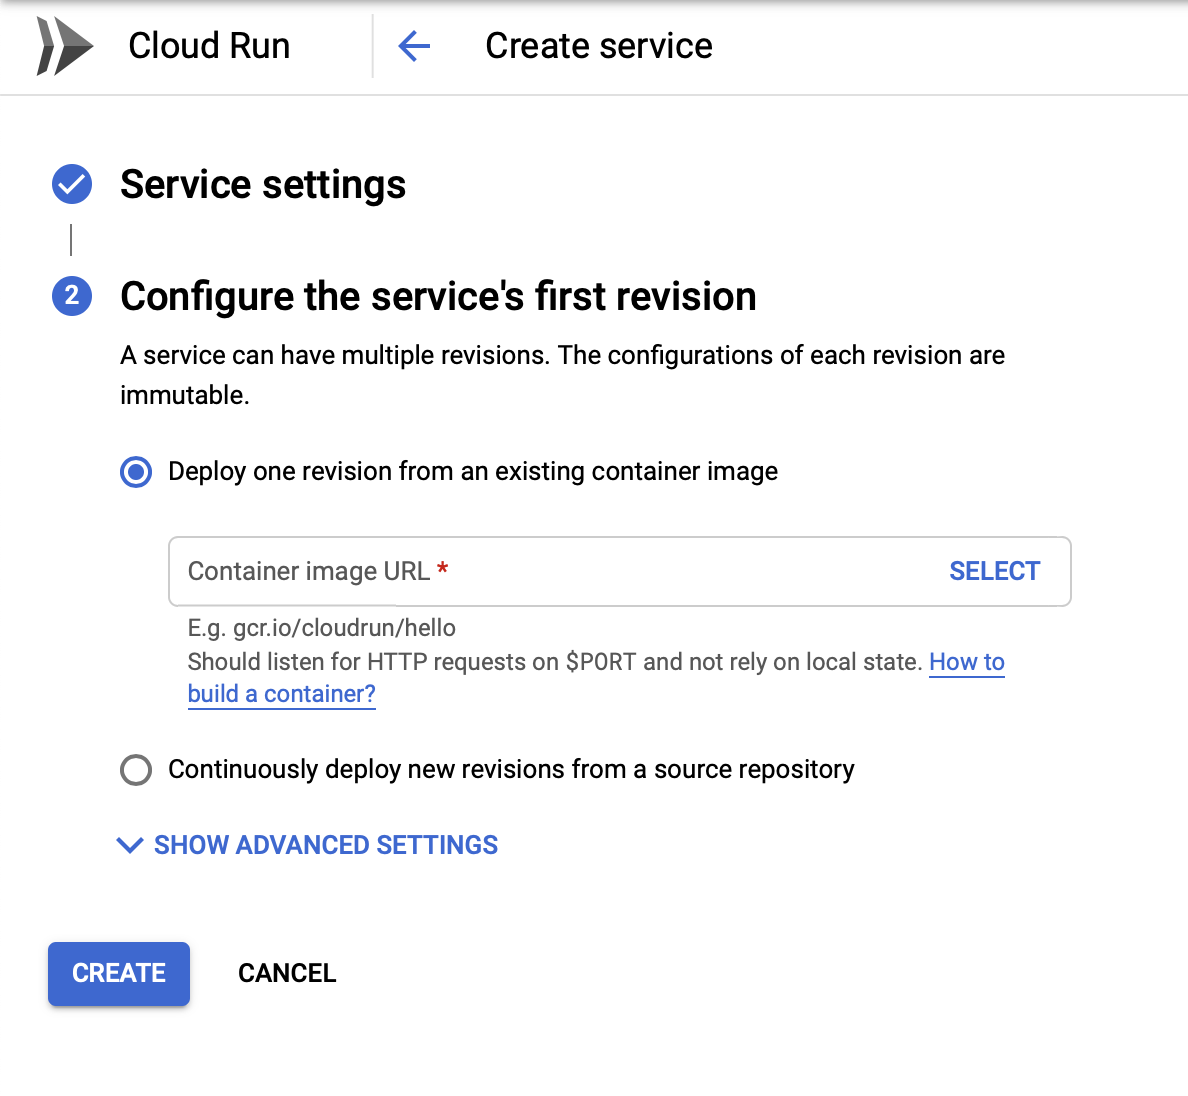 If image has been uploaded correctly, you can find your image when press
 SELECT.
Create when done
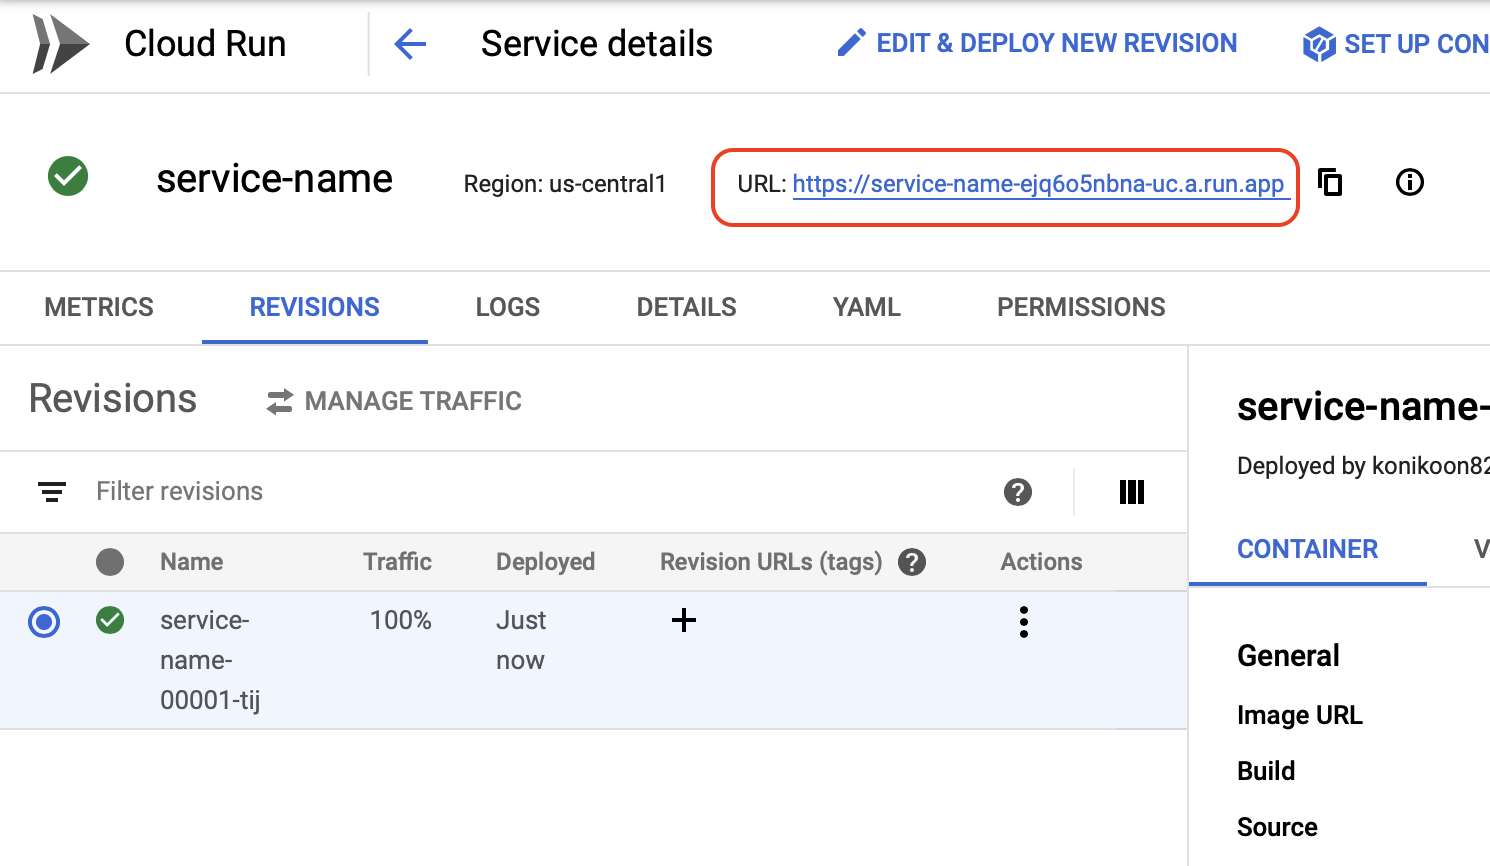 Wait for a while for service upload. You could find auto-generated url to access your service when done.